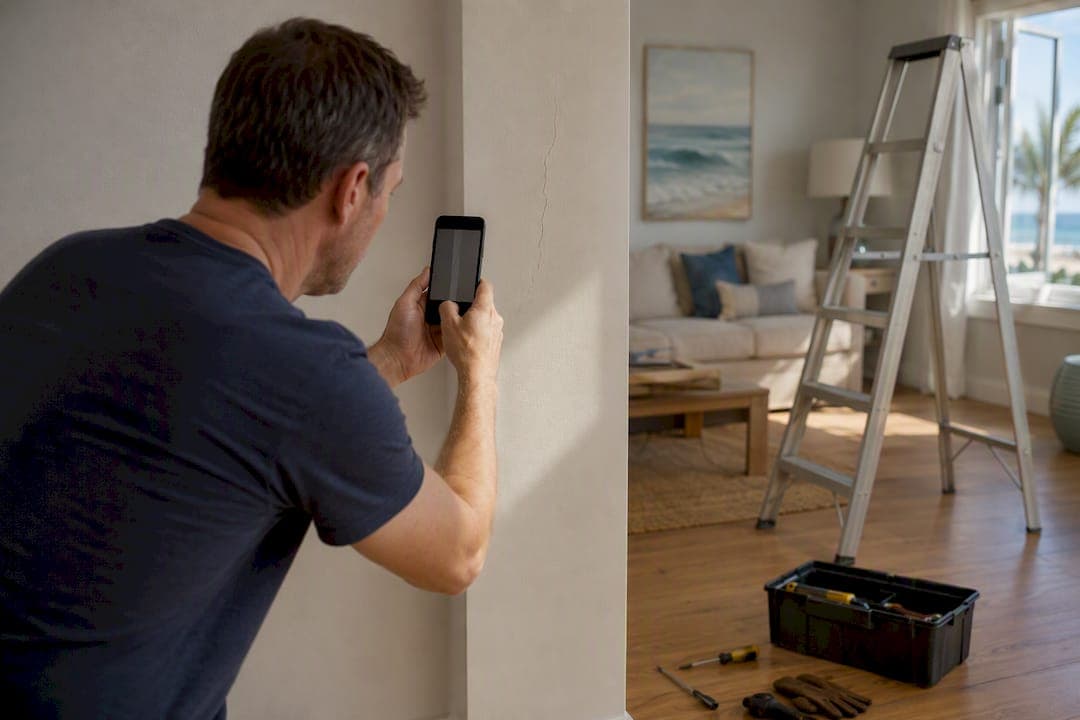
Schedule an independent builder warranty inspection in the 9 to 11 month window, ideally at month 11, while the builder is still on the hook for repairs. A licensed inspector documents defects with photos and written descriptions across every major system: HVAC, plumbing, electrical, roof, and foundation. That report becomes your evidence if the builder later disputes a claim.
TL;DR:
- Schedule the warranty inspection at month 11 to ensure repairs can be addressed before the warranty expires, with the report submitted within 72 hours.
- Focus on inspecting critical systems such as the roof, foundation, HVAC, plumbing, electrical, and moisture issues, especially those that may arise during real use.
- Prepare thoroughly by gathering documents, logs of observed issues, and ensuring physical access to all areas before the inspector arrives.
- File warranty claims in writing with detailed photos, specific defect descriptions, and clear references to warranty clauses, maintaining a comprehensive record of all communications.
- Hire an experienced, impartial inspector with certified new-construction expertise to produce a clear, photo-rich report that will stand up in disputes.
Table of Contents
- What Is a Builder Warranty Inspection and When Should You Book It?
- What Do Inspectors Check During a Warranty Inspection?
- How Should You Prepare for the Inspection?
- How Do You Submit a Warranty Claim After the Inspection?
- How Do You Choose the Right Inspector for a Warranty Inspection?
- What Happens After the Inspection Report Goes to the Builder?
- What Documentation Standards Make a Warranty Claim Defensible?
- What Legal Rights Do You Have If a Builder Refuses Repairs?
- How Do You Communicate Effectively With a Builder About Warranty Repairs?
- A Publisher's Perspective on Warranty Timing
- How 30A Property Collective Supports Warranty Readiness
- Where to Verify Warranty Rules and Inspection Standards
- Sources
What Is a Builder Warranty Inspection and When Should You Book It?
A builder warranty inspection is a full home evaluation performed near the end of your one-year warranty period, and it serves a different purpose than the walkthrough you did before closing. That earlier inspection checked for obvious defects before you took ownership. This one exists to catch problems that only show up after a house has been lived in for a year: settling, seasonal HVAC strain, plumbing under real use.
Most builder warranties cover workmanship and materials on major systems for a full year, with some structural components carrying longer coverage; understanding your Lighting Warranty Coverage can help clarify manufacturer and product warranty distinctions applicable to your home systems. Timing matters because an 11th-month inspection gives you a documented report while the clock is still running, and it still leaves a few weeks to file a claim before the warranty closes.
A practical scheduling approach:
- Book the inspector by month 8 or 9, since qualified new-construction inspectors get booked out.
- Hold the actual inspection at month 11, not month 12, so you have time to act on findings.
- Request the written report within 48 to 72 hours of the visit.
- Submit any claims at least two to three weeks before your warranty expiration date.
Waiting until the last days before warranty expiration is a common mistake that often leaves insufficient time to fix issues.
What Do Inspectors Check During a Warranty Inspection?
A thorough inspector works through the house system by system, not room by room at random. Knowing the checklist ahead of time helps you spot issues yourself and flag them before the inspector even arrives.
- Exterior and roof. Flashing separation, shingle lifting, gutter attachment, and grading that slopes toward the foundation instead of away from it.
- Foundation and structure. Visible cracking, drywall cracks near corners and door frames, and doors or windows that no longer close flush, all signs of settlement.
- HVAC systems. Airflow balance across rooms, refrigerant charge, thermostat calibration, and whether the unit is sized correctly for the square footage.
- Plumbing. Water pressure at every fixture, slow drains, visible leaks under sinks, and water heater function.
- Electrical. Panel labeling, GFCI function in wet areas, and outlets that test dead or reversed-polarity.
- Windows and doors. Weatherstripping gaps, hardware alignment, and glass seal failure showing up as fogging between panes.
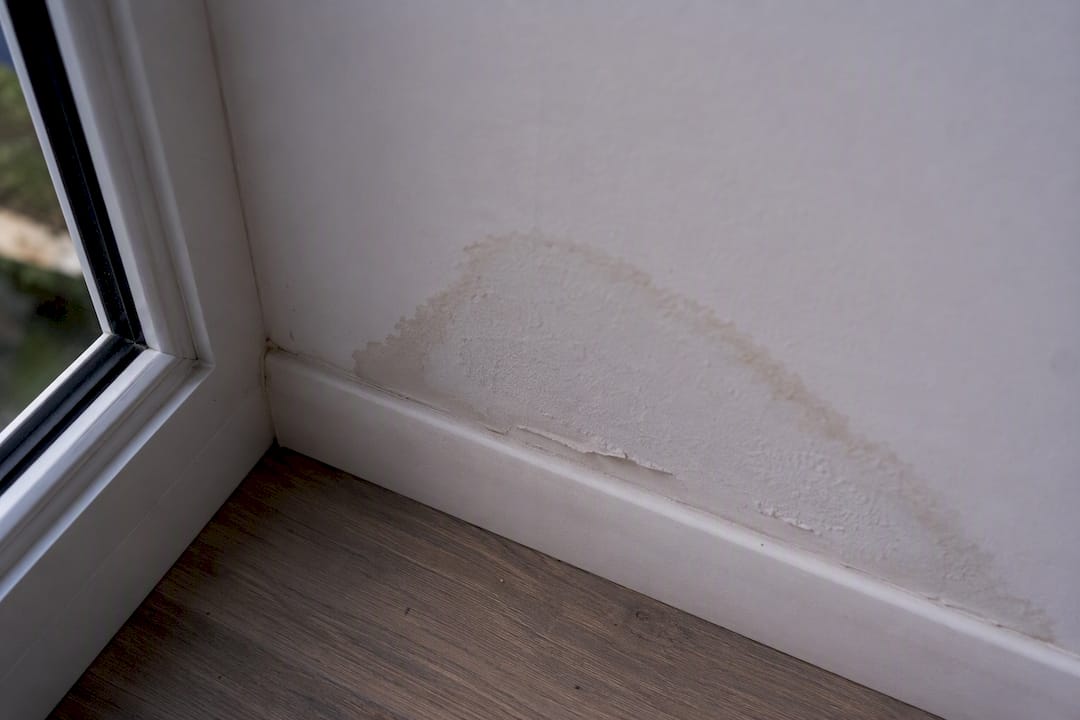
- Moisture and finishes. Grout cracking, caulk failure around tubs and showers, and any staining that suggests a slow leak inside a wall.
Pro Tip: Run every faucet and flush every toilet the morning of the inspection. Fixtures that behave fine when idle sometimes reveal pressure or drainage problems only under real use.
Moisture issues deserve extra attention because they're the category most likely to get disputed. A stain that shows up 13 months after closing is much harder to tie to original workmanship than one documented with a timestamp at month 11.
How Should You Prepare for the Inspection?
Preparation is what turns a good inspection into an airtight claim. Pull together your closing documents, the builder's warranty booklet, appliance manuals with serial numbers, and any punch list items from your final walkthrough that never got resolved.
Before the inspector shows up, do a lap of the house yourself and log anything you've noticed since move-in: a sticking door, a musty smell in the laundry room, a breaker that trips occasionally. Note the date you first noticed it. This matters because builders sometimes argue an issue arose from misuse rather than a defect, and your own dated log undercuts that argument.
Clear physical access before the inspector arrives:
- Unlock the attic hatch and crawlspace access.
- Clear items stacked in front of the electrical panel.
- Move furniture away from exterior walls where moisture intrusion is suspected.
- Have your closing paperwork and warranty documents printed or ready on a device.
A digital home inspection approach, where photos carry timestamps and serial numbers get logged alongside them, gives you a record that stands on its own even if the inspector's formal report takes a few days to arrive.
How Do You Submit a Warranty Claim After the Inspection?
The inspection report is only useful if you turn it into a formal, written claim. Verbal complaints to a builder's site supervisor rarely hold up if a dispute drags on.
- Put it in writing. Email the builder's warranty department directly, and request a read receipt or send by certified mail if the claim is significant.
- Attach the full report. Include the inspector's photos, exact locations within the house, and any recommended repairs the inspector noted.
- Reference your warranty terms. Cite the specific coverage clause that applies to each defect you're claiming.
- Set a response deadline. Give the builder a reasonable window, typically 10 to 14 business days, and say so explicitly in your email.
- Log every reply. Keep a simple spreadsheet with dates, who you spoke to, and what was promised.
Federal Trade Commission guidance recommends exactly this approach: submit claims in writing and keep records, because verbal agreements carry little weight if the dispute escalates to mediation or arbitration. If a builder stalls past your deadline, a follow-up email referencing the original date creates a paper trail that matters later.
How Do You Choose the Right Inspector for a Warranty Inspection?
The inspector you hire determines whether your report holds up when a builder pushes back. Not all inspectors are equipped for this specific job, and some general home inspectors have never handled a warranty-specific claim.
- Confirm certification through InterNACHI or ASHI, and ask specifically about new-construction experience, not just general resale inspections.
- Request a sample report before booking. It should be photo-rich, organized by location, and specific enough that a builder can't claim the description is vague.
- Avoid any inspector referred directly by the builder or with any financial relationship to the construction company. Independence is the entire point.
- Ask about turnaround time, re-inspection policy, and whether they'll support you if the claim goes to dispute.
Pro Tip: Ask a candidate inspector how many warranty-specific inspections they perform each month. An inspector doing dozens of resale inspections but only a handful of warranty inspections may not know what builders look for in a defensible report.
What Happens After the Inspection Report Goes to the Builder?
Most builders respond to a written claim within two to three weeks, though larger production builders sometimes take longer. A reasonable builder will schedule repair visits, fix the documented items, and close out the claim.
- Schedule a re-inspection after repairs are completed, ideally with the same inspector who did the original assessment.
- Document the repaired areas with new photos dated after the work, not just before-and-after comparisons from memory.
- If a claim is denied, ask the builder for a written explanation citing the specific warranty clause they're relying on.
- Keep every document. If the dispute escalates, mediation or arbitration will hinge entirely on your paper trail.
A denial isn't necessarily final. Many warranty contracts include a dispute resolution clause, and a documented, professional inspection report is exactly what gives you standing in that process.
What Documentation Standards Make a Warranty Claim Defensible?
Not all inspection reports carry equal weight with a builder's warranty department. The standard that actually protects you combines three elements: photo documentation, precise location references, and written descriptions that a stranger could act on without seeing the house in person.
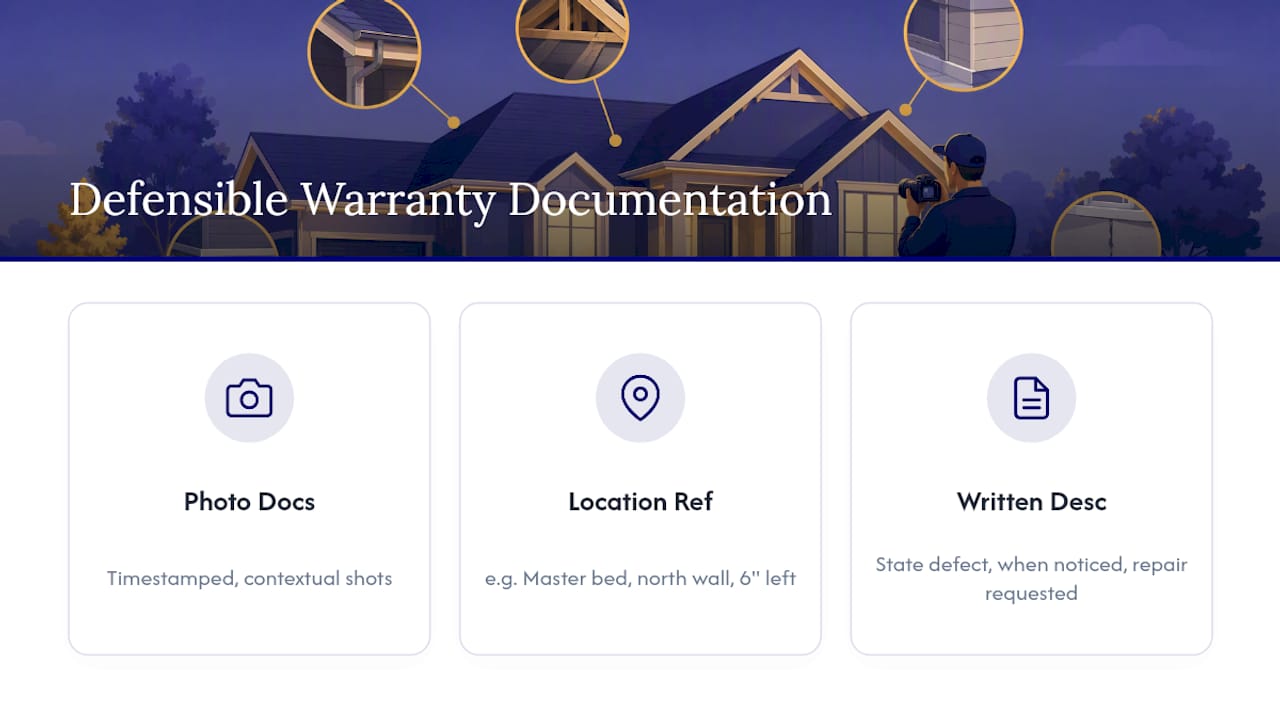
Photos need timestamps and enough context to show exactly where the defect sits, not a tight close-up that could be from anywhere in the house. A crack in drywall photographed from three feet back, showing the doorframe and room corner, is far more useful than a zoomed-in shot of just the crack.
Location references should follow a consistent system: "Master bedroom, north wall, six inches left of window frame" beats "bedroom wall crack." Warranty tracking platforms exist to organize this kind of record, but the format matters more than the software. A homeowner can build the same structure in a spreadsheet or a folder of labeled photos.
Written descriptions should state what the defect is, when it was first noticed, and what repair is being requested, in plain language. Avoid vague phrasing like "issue with the roof." Write "shingle lifting at the northeast corner, approximately 8 inches, visible from the ground" instead.
This level of detail does two things. It makes it harder for a builder to claim the issue is cosmetic or unrelated to construction, and it gives you a clean record if the dispute ever needs a third party to review it. Homeowners who keep loose, undated notes almost always struggle more when a claim gets contested months later.
What Legal Rights Do You Have If a Builder Refuses Repairs?
Builders don't always honor warranty claims, even well-documented ones, and knowing your options ahead of time keeps you from losing leverage. Most builder warranty contracts include a dispute resolution clause, often requiring mediation or binding arbitration before litigation is even an option, so read that section of your warranty booklet closely before assuming you can go straight to small claims court.
If a builder denies a claim, request the denial in writing with a specific reason tied to the contract language. This forces them to commit to a position rather than giving you vague pushback over the phone. Preserve every document from the process: the original inspection report, your written claim, the builder's responses, and any repair estimates you've gathered independently.
Third-party assessment can help when a dispute stalls. An independent inspector, ideally a different one than who did the original 11-month report, can provide a fresh, unbiased opinion that carries weight in mediation. Some states also have implied warranty of habitability laws that apply regardless of what the builder's written warranty says, covering issues that make a home unsafe or unlivable even if the builder's contract tries to exclude them.
If mediation fails and the contract allows arbitration, that process moves faster than a lawsuit but still benefits enormously from a clean paper trail. Homeowners who show up with a single disorganized email chain fare worse than those who show up with a dated inspection report, a written claim, and a documented timeline of builder responses.
How Do You Communicate Effectively With a Builder About Warranty Repairs?
Tone and documentation go hand in hand when you're negotiating repairs. Builders respond better to specific, professional requests than to frustrated phone calls, even when the underlying issue is legitimate and urgent.
Lead every communication with facts, not emotion. State the defect, its location, the date it was documented, and the specific warranty clause that covers it. Attach the inspector's photos directly to the email rather than describing them. A builder's warranty coordinator processes dozens of claims, and the ones with clear, organized evidence get resolved faster because there's less back-and-forth needed to clarify what's being claimed.
Set explicit deadlines in writing, and follow up exactly when you said you would. If a builder promises a repair visit within two weeks and misses it, a polite but firm follow-up referencing the original commitment tends to work better than escalating to anger immediately. Save the firmer tone for a second missed deadline.
Keep every conversation on record. If a builder's representative makes a verbal promise on-site, follow up with a same-day email summarizing what was said: "Confirming our conversation today, you agreed to repair the roof flashing by [date]." This isn't about distrust. It's about making sure verbal agreements survive if the person you spoke with leaves the company or forgets the conversation happened.
A Publisher's Perspective on Warranty Timing
The 11-month inspection catches what a single snapshot can. Recurring inspections catch what accumulates between snapshots. 30A Property Collective's weekly inspection and digital reporting model exists because a home under real use generates new evidence constantly, not just once a year. A single warranty inspection protects your rights at one moment. Ongoing, dated documentation protects you every month in between, and it's the difference between a claim that gets contested and one that doesn't.
— Zackary
How 30A Property Collective Supports Warranty Readiness
30A Property Collective gives new construction homeowners something a one-time inspection can't: a continuous, dated record of your home's condition instead of a single snapshot at month 11. Weekly inspections under our Luxury Home Watch program generate digital reports with the same photo-documented, location-referenced standard your warranty claim needs, so if a defect appears in month 4, you already have evidence instead of a fading memory by month 11.

Our team also coordinates directly with contractors and vendors when repairs are approved, tracking the work through completion instead of leaving you to manage the schedule yourself. That oversight matters most in the weeks after a builder agrees to a fix, when follow-through often stalls without someone watching it.
If you're heading into your warranty year and want documentation that holds up from day one, sign up for a service plan or explore our concierge options for one-time inspection and repair coordination support.
Where to Verify Warranty Rules and Inspection Standards
Check FTC guidance on new-home warranties and InterNACHI/ASHI inspection standards before submitting any written claim.
Sources
- Warranties for new homes | Consumer advice
- What is a Builder’s Warranty Inspection, and Why is it Important? | HomeTeam